

Hey, email marketers, Sandun here! Welcome to the “Email Etiquette Guru. Today we are going to talk about this: “How to Create an Email Marketing Campaign in Moosend for FREE?”
So, let’s start creating your first email marketing campaign in Moosend for free with easy steps.
Moosend is the best tool for beginners who have not yet decided to implement an email marketing campaign in your marketing strategy.
The email marketing campaign is a powerful method to reach your customers, drive traffic to your website or improve your brand awareness.
Today, I will show you how to create an email marketing campaign in Moosend for free with easy steps.
EXTRA TIP: At the end of this article, you will also learn “how to get a business email address for free” as an extra tip.
An Overview of the Moosend Email Marketing Software
Moosend is one of the major email marketing service providers online. They are a UK-based email marketing company.
The platform has many features that you can use to win your marketing game. Some of the significant features are;
- “Drag and drop” email newsletter structure editor
- Email automation
- Personalized newsletter structures
- Simple campaign analytics records dashboard
- Attractive and pleasant look landing pages
- Real-time track Records
Why should you try Moosend to implement your email marketing campaign?
The Moosend is a super easy platform for beginners to create their newborn email marketing campaign.
They have divided the email campaign creation process into seven steps.
All you need to do is to follow those steps according to their guidance.
Moosend has provided guidelines for each step for creating email marketing campaigns to make it easier for new users.
Moosend allows you to try out the platform before you move to purchase paid plans. You can try their free program without providing your card details.
What more evidence do we need to consider Moosend as the most suitable email marketing platform for beginners?
Even if you are using another email marketing tool, it’s worth trying this tool.
What are the types of email campaigns in Moosend?
An email campaign is any email you send to your subscribers or customers with or without an email marketing tool.
These tools make your job easier. Email marketing tools open the doors to new areas in your marketing plan that you would not be able to reach without them.
Followings are the four types of email campaigns available in Moosend.
- Regular Campaign
- A/B Split Campaign
- Repeatable HTML Campaign
- RSS Campaign
In this article, you will learn how to create a “regular campaign” in Moosend. Let’s begin to make your first email marketing campaign with Moosend.
Let’s Create and Send Your First Email Marketing Campaign with Moosend
Well, it’s time to start your email marketing campaign with Moosend.
In this article, you don’t need to worry about previous experience with email marketing tools because you will learn “how to create an email marketing campaign with Moosend” from scratch.
Let’s Sign Up for Moosend
Before creating your email marketing campaign, you need to register with their platform using your email and unique password.
Click here to get started with Moosend today.
When you click on the link above, it will take you to the page you see in the image below.
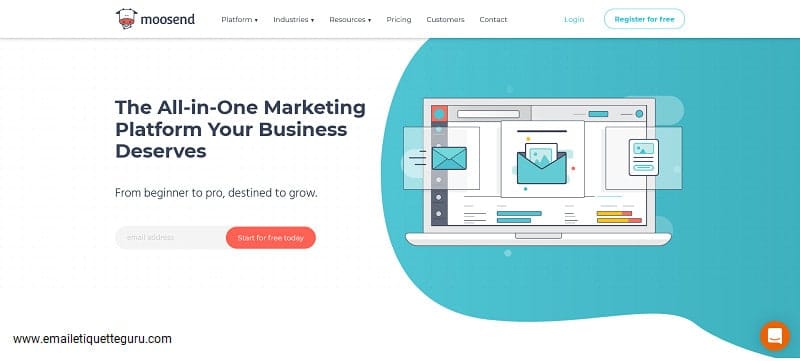
Just click the button in the right upper corner called “Register for Free” to start the signup process.
Moosend allows you to send emails to up to 1000 subscribers with their free plan.
Moosend’s signup page is as shown below.
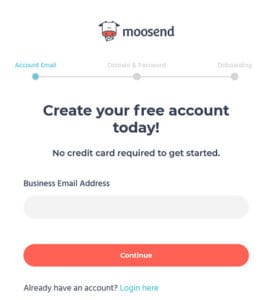
There is something special here. It is why I wanted to write this article from the very bottom step.
When you begin to sign up with Moosend, it asks you for a business mail address.
You might don’t have a business email with you right now. But you don’t need to worry about that.
You can also add your email address that was made from a free email provider (Gmail, yahoo mail, outlook, etc.) for this step.
But later, we will add a business email address to your account for your email campaign in Moosend.
Later in this article, I will show you how to get a free business email address for your business.
You will need to name your login domain in the next step.
The login domain is a unique domain that users can use to work with their accounts. You can use this domain to access your work in the Moosend.
It is best to put your business name as the login domain name since it is easy to identify & separate your businesses.
Example: If your company name is “ABC Marketing.”
You can create your login domain as “abcmarketing.moosend.com.
You will have to provide your personal and company details to complete the signup process in the next step.
It is essential to provide accurate details because these will ensure that your emails comply with anti-spam laws.
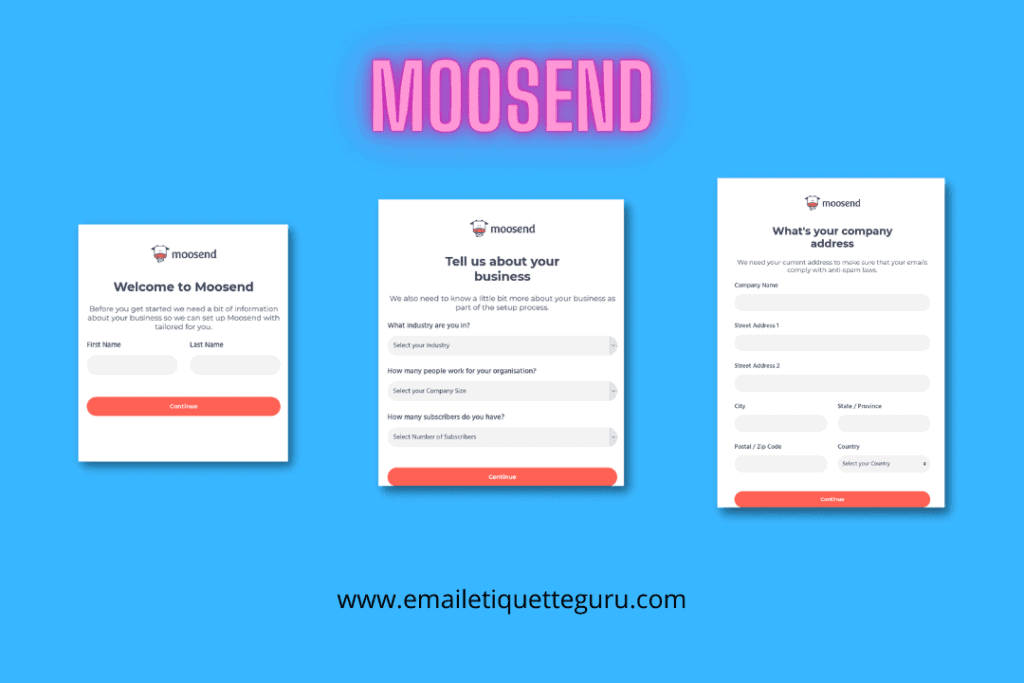
Just press the continue to complete your signup process.
When you complete the registration process, it will take you to the Moosend Dashboard.
Well, it’s time to create your first email marketing campaign in Moosend.
As I mentioned earlier, it is a straightforward process. All you need is to follow seven steps to create your email marketing campaign in Moosend.
So, Let’s look into what that means and what you need to know about
Let’s prepare your account to initiate your email campaign.
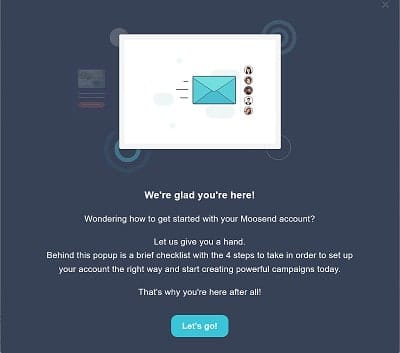
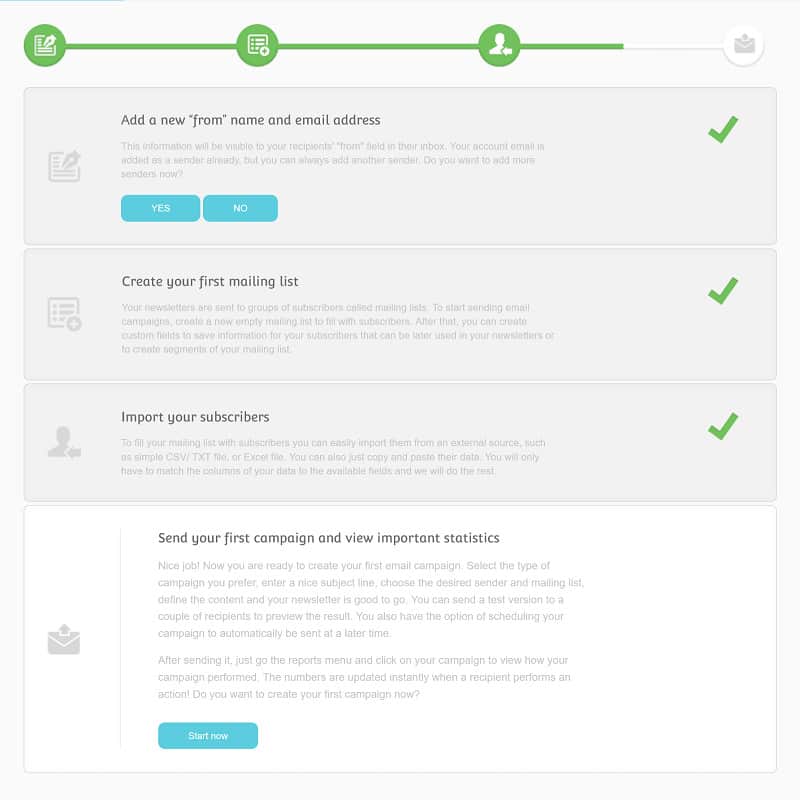
Moosend welcomes you with a welcome message, as shown in the image below. You can start creating your email campaign by clicking the “Let’s Go!”.
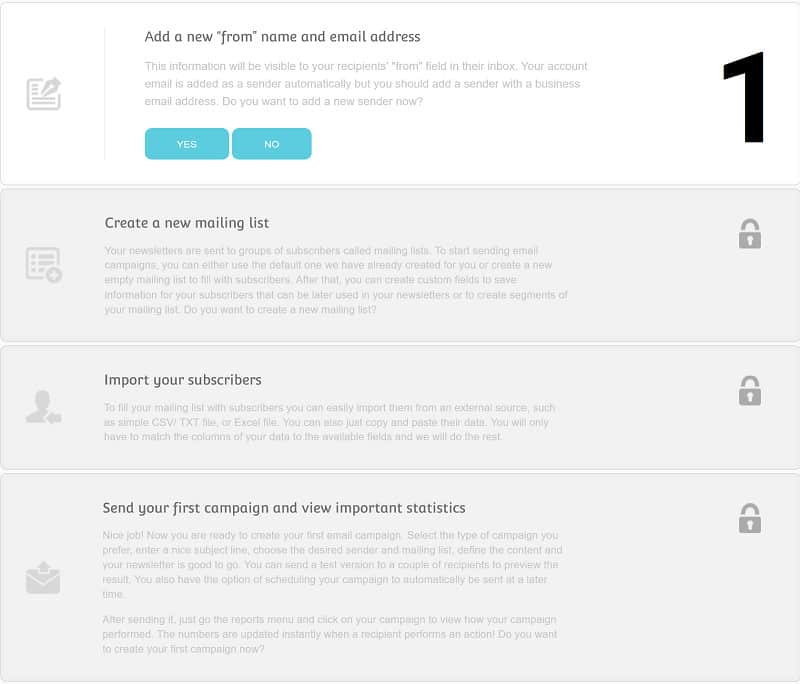
There are a few things you need to do before creating your first email campaign in Moosend.
Task 01 – Add a name and email address to the sender details of your email marketing campaign.
The first task of creating your email marketing campaign in Moosend is to provide the sender details of your email campaign.
This information is used to show your details to recipients in their inboxes.
The receiver will identify the name of the sender from the details you provide here.
The email address you provide here is the sending email address of your email campaign.
You will need to provide a business email address as Moosend will not allow using the email addresses created by free email providers for your email marketing campaign.
How to get a business email address for free
You can easily create a new business email address with your desired name or company name.
At first, you should have a domain name for your business email.
Second, you should have a hosting server to host your domain address.
Third, that hosting should allow you to create and host an email address without paying for it.
Hostinger is a great company that provides both domain name and email account freely when purchasing their hosting plan.

It is best to use Hostinger’s premium shared hosting plan, which costs only $1.99 per month (Please note that these prices are valid for more extended time range purchases).
Hostinger provides 100 email accounts and free domain registration when users purchase their premium shared hosting plan.
There are other hosting providers that you can try in the market.
I recommend Hostinger because I have been with them for more than two years, and I have had no issue with them since I started using Hostinger.
Well, let’s move to create your email campaign.
How to add your name and business email address
Suppose that you have a business email address to use in your email campaign with Moosend.
Click on the “Yes” button in the section that asks “Add a new “from” name and email address” to add your business email address.
Click on the “Add new sender” to add your business email address and the name.

You need to put your name and the business email address, as shown in the image below. To save your settings, click on the “Save Sender.”
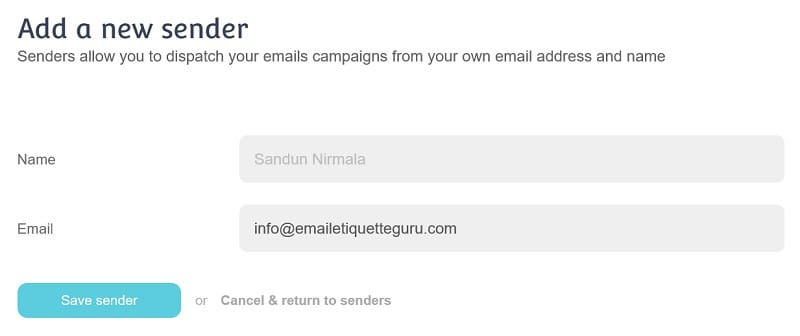
Once you save the settings, Moosend will send a confirmation email to the email address you provided here.
Check your inbox and do the confirmation according to their guidance.
After that, you can see your business email address as a verified email address in the list of “Senders.”

After adding your business email address, add SPF and DKIM records to your DNS records.
The SPF and DKIM are the core components of email authentication. SPF and DKIM help to protect emails from spam, spoofing, and phishing.
You can add SPF and DKIM records by editing your DNS record.
You can use Cloudflare, which is highly recommended to manage DNS records. Cloudflare is one of the most used CDN networks globally, and it is free and easy to work with for anyone.
To edit the DNS records in Cloudflare, follow the below steps.
Log in to your Cloudflare account → Select and click on your domain name → Select DNS tab → Click “Add record.”
You can add the records as follows.
Type – TXT
Name – You can find the “name” for SPF and DKIM by clicking on them in the list of email senders (TXT record name)
TTL – Auto
Content – Same as I mentioned for “Name” (TXT record value)
After adding the DNS records, click on the “verify DNS records” to confirm that you have made no mistake.
Now, you have successfully added your business email address to your email campaign in Moosend.
Let’s move on to the second task of setting up the email campaign by clicking the dashboard button on the left panel.
Task 02 and 03 – Create a new mailing list and import your subscribers
A mailing list is a collection of subscribers who receive your emails.
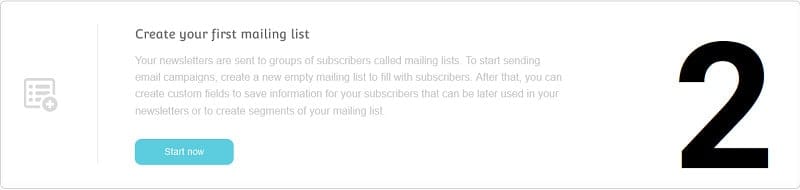
To add your email subscriber, click the “Start now” button.
You can create a new mailing list by clicking on the “Create new list” in the upper right corner and name it according to your preference.
After creating the mailing list, you can add the list of subscribers you will use in this email campaign.
You can import members or add new members one by one into your mailing list.
Tweak a little bit around this panel, and you can find more things that you can do with your Moosend mailing list
The best practice here is to divide the collection of your subscribers into subsets.
Subsets allow you to direct your email business only to the most suitable people.
Also, it is a good habit to send your email campaign to the most suitable recipients rather than sending it to all subscribers.
Using a subset will undoubtedly help increase the effectiveness of your email campaign in Moosend.
Now you can create your e-mail campaign with Moosend and send it to your subscribers without waiting any longer.
Creating And Sending Your First Email Campaign
Now, it’s time to create your email marketing campaign with Moosend.
As I said earlier, Moosend has divided the campaign creation process into seven straightforward steps.
Step 01: Campaign Settings
You can set the name, subject, preview text, sending email address, “reply-to” email address for your email campaign.
Step 02: Select Mailing List
You need to select the mailing list you will use in this particular email marketing campaign.
Step 03: Select Format
Moosend has allowed you to use either a plain text campaign or a modern HTML campaign for your email campaign in Moosend.
Step 04: Create Template
You can either upload an HTML design as content or create your email newsletter using a flexible campaign editor in Moosend.
Step 05: Spam and Delivery Test
You can check your campaign before sending it to your mailing list by sending it to a few selected email addresses.
Step 06: Schedule Delivery
Moosend has provided you with the ability to schedule your campaign.
Step 07: Snapshot
As the final step, you can overview the email marketing campaign before clicking the Send button.

Click the “New Campaign” button next to your account logo to begin creating your email campaign!
First of all, you need to choose the type of email campaign you will be launching with Moosend.
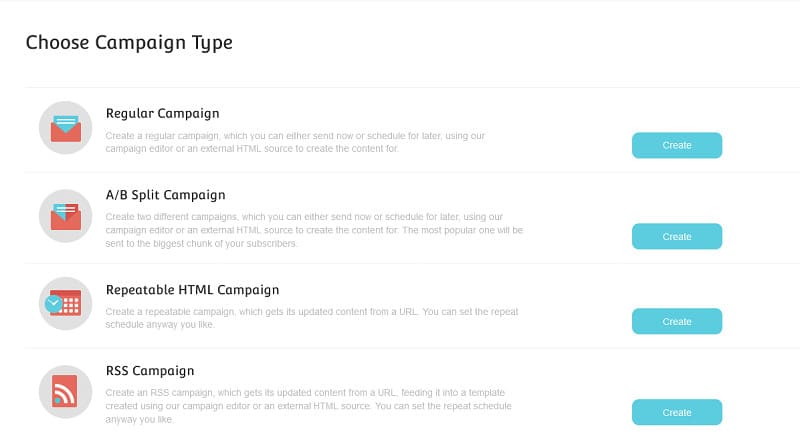
Moosend has provided four types of email campaigns to its users to use for their email campaigns. Those are;
Regular Campaign:
The Regular Campaign is the primary type of email campaign to send emails to your subscribers using Moosend.
A/B Split Campaign:
You can compare two campaigns and send the winner to the largest group of your subscribers.
Repeatable HTML Campaign:
Here you can create a repeatable campaign that gets its updated content from a URL.
RSS Campaign:
You can create an RSS campaign that gets updated content from a URL with this type of campaign.
This article discusses the “Regular campaign” that many marketers use for their email marketing campaigns.

To start the regular campaign and click the “Create” button.
Step 01: Campaign Settings
Enter the relevant information about your email campaign here.
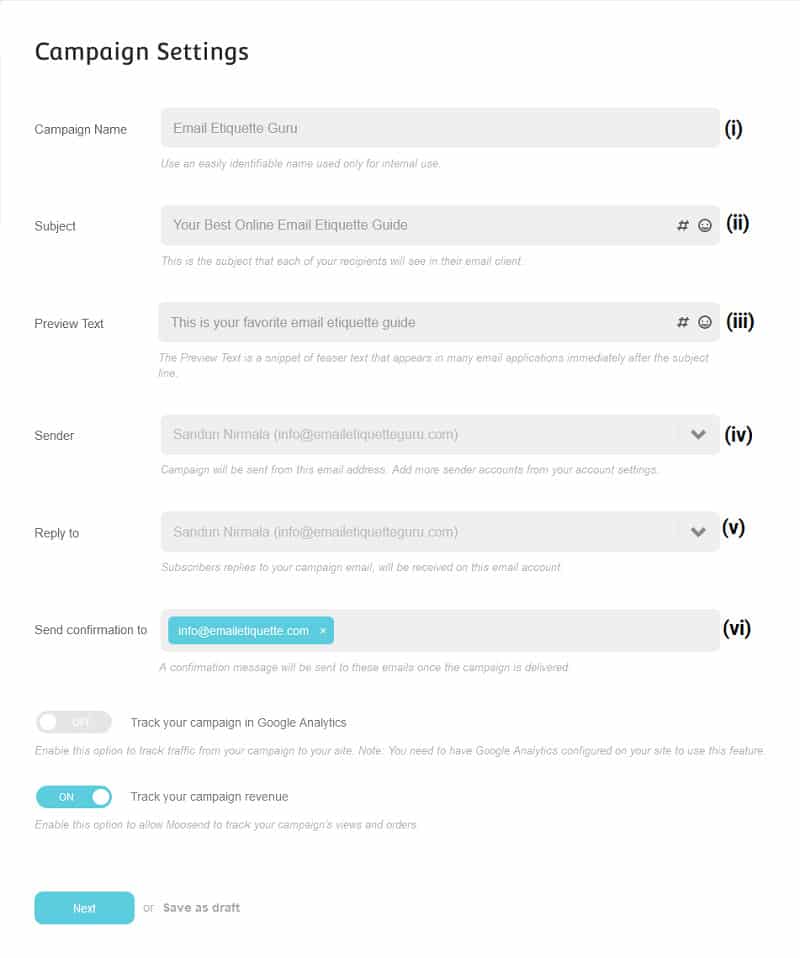
You need to provide the following details here.
(i) Campaign Name
Provide a name for your email marketing campaign in Moosend. Use a relevant title for your specific email campaign.
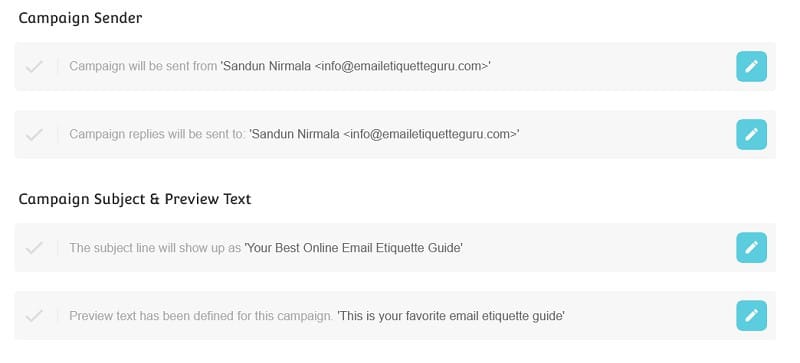
(ii) Subject
Provide a subject for your email campaign. Your subscribers will see this line of text when they receive your email into their inbox.
(iii) Preview Text
You can set a preview text for your emails. The preview text is a snippet of teaser text of your email that appears in many email applications immediately after the subject line.
(iv) Sender
The sender is the sending email address and name to which the campaign is sent out. You can select the sender which you want to use in your campaign.
(v) Reply To
Provide an email address to receive replies to your emails.
(vi) Send Confirmation To
Moosend will send you the confirmation email to this email when your campaign delivery is completed.
After giving this information, toggle the switch below according to your preference.

Enable it, If you want to track traffic from your campaign to your website. But you should have configured google analytics on your website to use this feature.
Click the next to continue.
Step 02: Select Mailing List
The next step is to select the mailing list for your email marketing campaign in Moosend.
Choosing mailing lists for your email marketing campaign in Moosend is not that complicated.
Click “Select Mail List” to select your list.
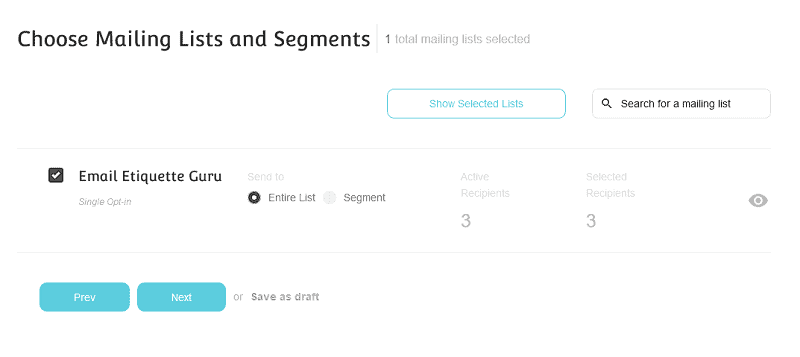
Here you have the opportunity to choose more than one email list.
The email list can be any mailing list you have previously entered, several mailing lists, a subset of them, or a combination of all.
Try your best to send your emails only to relevant people.
I can guarantee that doing so will save you both time, effort, and money.
When you have finished selecting the mailing list for your business, click “Next” to proceed.
Step 03: Select Format
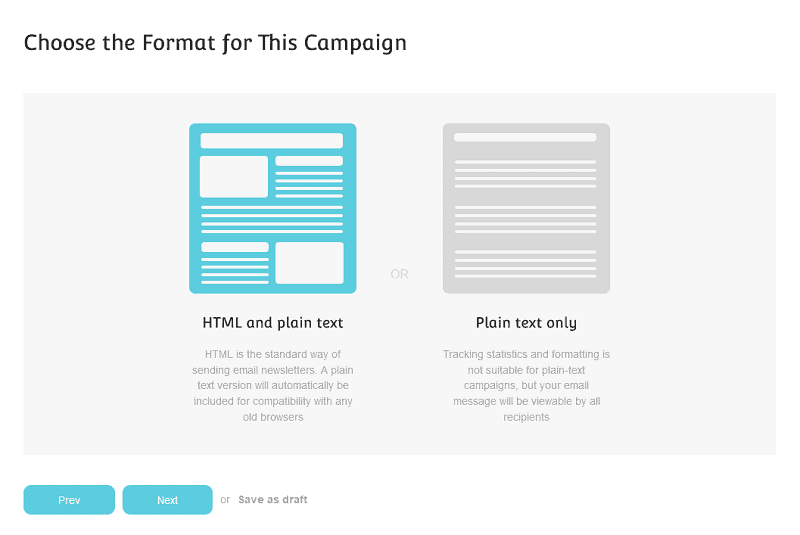
Now is the time to create the perfect email for you to send to your subscribers.
Moosend allows you to create emails in plain text format or HTML and plain text format.
Because the “only plain text” mode does not provide an accurate report, Moosend recommends combining HTML and plaintext.
After selecting the email marketing campaign format, click “Next” to create an email.
Step 04: Create Template
Creating the email template in Moosend is not such a complicated process.
You can create your email either using Moosend’s Campaign Editor or importing your campaign.

The campaign editor that Moosend provides is a flexible and user-friendly tool to create email marketing newsletters.
You don’t have to be an expert in HTML to create your email newsletter.
The Moosend’s Campaign Editor allows you to create your email newsletter using their drag-n’-drop formats while coding HTML and adding personalization tags simultaneously.
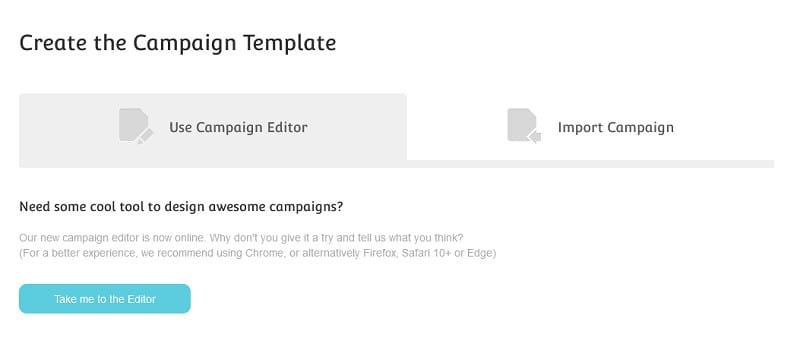
To create your email campaign using Moosend’s Campaign Editor, click on the “Take me to the Editor” button.
If you prefer to use an already created email newsletter, click on the “Import Campaign” tab to import your newsletter.
You can import your campaign in three ways when you are with Moosend.
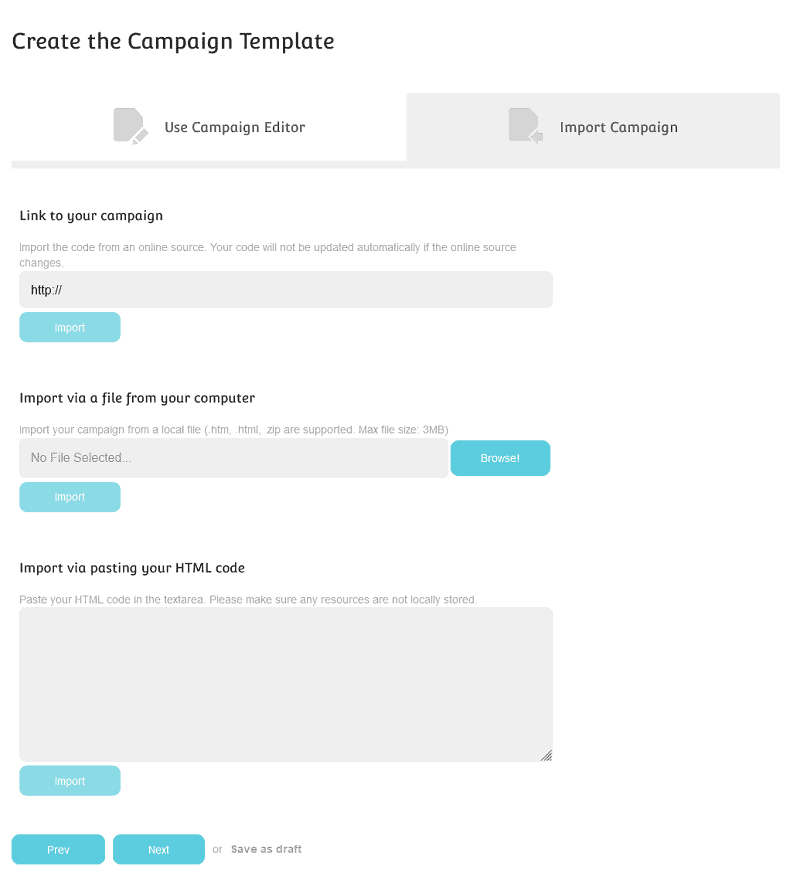
Link to your campaign: You can import your HTML newsletter from the URL.
Import via a file from your computer: You can upload your campaign directly from your computer along with the images contained in it.
Import via pasting your HTML code: You can import your email newsletter by pasting your HTML code in the text area. Make sure not to use any locally stored resources when you use this option.
Okay, it’s time to test and send your campaign to your subscribers. Just click on “Next” to continue creating your email marketing campaign in Moosend.
Step 05: Spam and Delivery Test
This step is required to check your email before going to your subscribers.
You can test the look of your business by selecting “Design and Delivery Test.”
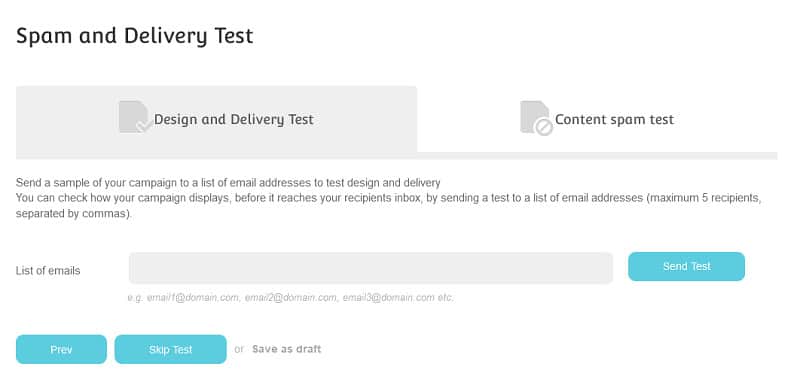
All you need to do is add up to 5 comma-separated email addresses and click “Send Test” to check your email.
I recommend choosing five email addresses from different email service providers (e.g., Gmail, Outlook, Yahoo) in this test.
It allows you to test the look of your email campaign across different email service providers.
You can do a spam test for your campaign before moving on to the next step.
The Content spam test is essential to ensure that your emails won’t end up in your subscriber’s spam folder.

By clicking “Get Spam Report”, you can see if all the popular spam mail filters set up by email clients will pass your email marketing campaign in Moosend.
After getting the spam report, click on the “Next to continue.
Step 06: Schedule Delivery
After creating your email marketing campaign in Mossend, it’s time to send it to the subscribers.
Moosend has allowed marketers to send their email campaigns immediately or on a specific date or time.
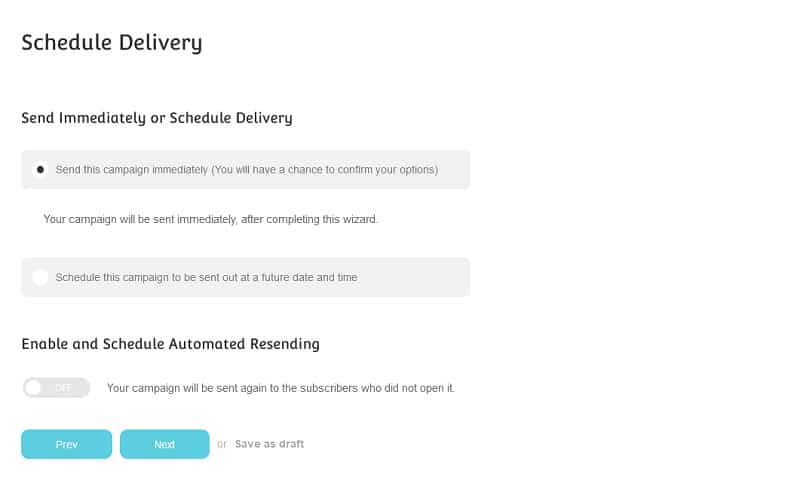
Select “Send this campaign immediately” and click the “Next” button to proceed if you want to send your campaign immediately.
But if you want to schedule your campaign to send on a future date and time, choose “Schedule this campaign to be sent out at a future date and time.”
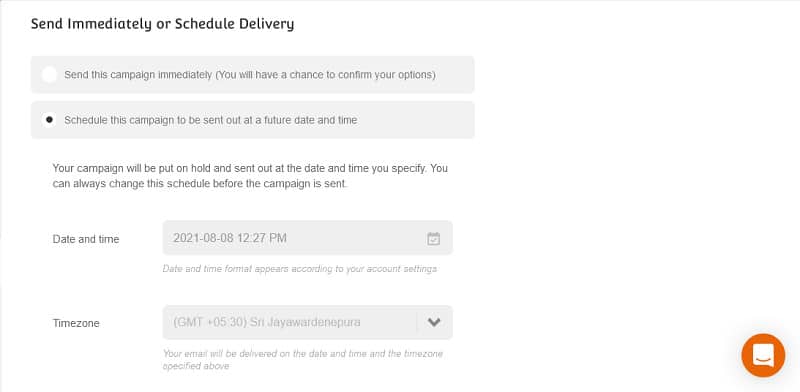
When you schedule your business, you need to provide specific details to complete the process. those:
- The delivery date and time
- The time zone
You can configure your email campaign to automatically sent back to subscribers who did not open it. Activate the switch at the bottom to schedule automated resending.

Step 07: Take a Look at Snapshot
This step allows you to look at your email campaign before sending it to your recipients.
If you want to check out the Newsletter design, click Preview to view it.
After working hard, you can now send your email marketing campaign by clicking the send button.
Summary
For many reasons, having an e-mail marketing campaign is essential in any marketing plan.
Because of the high cost of most email marketing platforms, it is difficult for many small businesses to use these marketing technologies.
Moosend has provided a precious gift to marketers to use or try out email marketing campaigns for free.
The user-friendly dashboard and the simple campaign make it easier for users to create their email campaigns with Moosend.
Thanks for reading.
You May Also Like to Read:
Does Sending Work Emails on the Weekend Matter?
How to Write an Apology Email for Forgetting an Attachment?
How do you write an email to purchase a product? (Order Via Email)